Fresh macOS installation: From 0% to 100% ready for development in just a glance

Many people afraid of reinstalling their computer, or change their computer, because there are just too many things, software installed. But not me, instead, I enjoy it.

How can I enjoy reinstalling my computer over and over?

Reinstall computer is not as hard as it seems, regardless of how many software that you have.

There are a few things that you need to follow to make this progress easier:

  • Sync everything that you can sync to the cloud
  • Be neat and clean, on your computer. Make sure you always put your files and folders in the place that its belongs to.
  • Be neat and clean
  • Be neat and clean (important things have to be repeated 3 times)

Everything Backed Up, now what?

Just to mention, i know that macos can be reinstall without losing any data. But you know what, i love the feeling of a fresh install, like, a brand new computer. So yeah, why not delete everything?

There are many ways to reinstall macos, but i prefer using a bootable installer (usb).

If you want a fresh install, like me, you will need to erase the disk in the install progress.

Have a fresh macOS, what to do?

The first thing that i want to do, is to turn off SIP (System Integrity Protection (rootless) mode). It is a security feature that prevents changing root-level files even with the root password. Yeah, sounds awesome right? But, i’m a developer, no one tell me what to do 😏

You may want to disable Secure Boot and Gatekeeper too. And like SIP, they are optional.

Homebrew

Don’t tell me that you don’t know this name? The most famous package manager for macOS. Homebrew is the most important piece.

To install homebrew, you gotta have “Command Line Tools (CLT) for Xcode” first:

1
xcode-select --install

Then install homebrew with:

1
/bin/bash -c "$(curl -fsSL https://raw.githubusercontent.com/Homebrew/install/master/install.sh)"

We are going to use Homebrew bundle, which lets us install pretty much everything else, with just a Brewfile and a single command.

And yes you’re right, I do have my own Brewfile and you can use it. Check it out here But before, you may want to login to “App Store” first, because with brew, you can even install the app from App Store without manually click by yourself.

Now download my Brewfile and let the party (the installation) begin:

1
2
curl https://raw.githubusercontent.com/huynhducduy/dotfiles/master/Brewfile -s -o Brewfile
brew bundle install

Or you can create your own Brewfile. Let take a look at what is in mine:

 1
 2
 3
 4
 5
 6
 7
 8
 9
10
11
12
13
14
15
16
17
18
19
20
21
22
23
24
25
26
27
28
29
30
31
32
33
34
35
36
37
38
39
40
41
42
43
44
45
46
47
48
49
50
51
52
53
54
55
56
57
58
59
60
61
62
63
64
65
66
67
68
69
70
71
72
73
74
75
76
77
78
79
80
81
82
83
84
85
86
87
88
89
90
91
92
93
tap "homebrew/bundle"
tap "homebrew/cask"
tap "homebrew/cask-drivers"
tap "homebrew/cask-fonts"
tap "homebrew/cask-versions"
tap "homebrew/core"
tap "homebrew/services"
tap "homebrew/test-bot"
tap "rigellute/tap" # These are 'tap', used to extend the formulae of homebrew
brew "autojump" # A 'cd' command that help you jump quickly to your desired location
brew "bandwhich" # Monitor current network utilization
brew "broot" # A replacement for treeview, search, ls, cs,….
brew "coreutils" # Linux core utilities, because macos utilities have slightly different with linux in syntax,...
brew "croc" # P2P file-transfer tool
brew "gnutls" # GNU TLS
brew "ffmpeg" # Playing with audio, video
brew "findutils" # GNU find, xargs, and locate
brew "fzf" # Fuzzy finder, play well with various of other tools
brew "gawk" # GNU awk
brew "git"
brew "git-lfs" # Store large files on git
brew "gnu-getopt" # Linux util
brew "gnu-indent" # Linux util
brew "gnu-sed" # Linux util
brew "gnu-tar" # Linux util
brew "gnupg" # Support for GPG
brew "go"
brew "gradle"
brew "grep" # GNU grep, egrep and fgrep
brew "hstr"
brew "htop" # Improved 'top'
brew "hugo"
brew "imagemagick"
brew "libpq"
brew "mas" # Support for install app store app with cli
brew "moreutils" # More UNIX util
brew "neofetch" # Display os info
brew "nmap" # Port scaning
brew "nvm"
brew "spotify-tui" # Spotify in terminal
brew "spotifyd" # Spotify daemon
brew "sqlmap" # Scaning for SQL Injection
brew "tldr" # Improved 'man'
brew "tmux"
brew "tokei" # Count code
brew "wget"
brew "wifi-password"
cask "alacritty" # GPU-powered terminal (replacement for iTerm)
cask "anaconda"
cask "authy"
cask "dashlane"
cask "discord"
cask "figma"
cask "firefox-developer-edition"
cask "font-fira-code-nerd-font"
cask "font-hack-nerd-font"
cask "google-chrome"
cask "hazeover"
cask "iina"
cask "insomnia"
cask "intellij-idea"
cask "iterm2"
cask "keepingyouawake"
cask "keka"
cask "keycastr"
cask "logitech-options"
cask "lulu"
cask "microsoft-auto-update"
cask "microsoft-edge"
cask "mockoon"
cask "mysqlworkbench"
cask "openkey"
cask "opera"
cask "pock"
cask "postman"
cask "proxyman"
cask "rar"
cask "rectangle"
cask "skype"
cask "slack"
cask "spotify"
cask "steam"
cask "teamviewer"
cask "telegram"
cask "textmate"
cask "tor-browser"
cask "tower"
cask "typora"
cask "visual-studio-code"
cask "zalo"
mas "Messenger", id: 1480068668
mas "RunCat", id: 1429033973
mas "Shazam", id: 897118787

Now at this point, your computer is good to go. But I will not stop there, i got a few more things to do.

Configurations

Import SSH Keys, GPG Keys

In case you don’t know: In simple words: SSH is for authentication, GPG is for authorization (sign).

1
2
3
4
sudo mkdir ~/.ssh & sudo vi ~/.ssh/id_rsa
chmod 600 ~/.ssh/id_rsa
gpg —-import /path/to/public-key-backup
gpg —-import /path/to/secret-key-backup

Config for git

1
2
3
4
5
git config --global user.name "Your Name Here"
git config --global user.email "[email protected]"
git config --global user.signingkey "yourgpgkey" # if you use gpg signing
git config --global commit.gpgsign true # if you use gpg signing
git config --global help.autocorrect 1

Config for zsh (Z-shell)

zsh is now the official default shell of macOS. I have my .zshrc file here which is works perfectly with all the above configuration.

I used oh-my-zsh which is a framework for manage zsh, along with some plugins (you can find them in the .zshrc file).

This command will install oh-my-zsh and the plugins

1
2
3
4
5
6
7
sh -c "$(curl -fsSL https://raw.githubusercontent.com/ohmyzsh/ohmyzsh/master/tools/install.sh)"
git clone https://github.com/TamCore/autoupdate-oh-my-zsh-plugins $ZSH_CUSTOM/plugins/autoupdate
git clone https://github.com/Aloxaf/fzf-tab ~ZSH_CUSTOM/plugins/fzf-tab
git clone https://github.com/zsh-users/zsh-completions ${ZSH_CUSTOM:=~/.oh-my-zsh/custom}/plugins/zsh-completions
git clone https://github.com/zsh-users/zsh-syntax-highlighting.git ${ZSH_CUSTOM:-~/.oh-my-zsh/custom}/plugins/zsh-syntax-highlighting
git clone https://github.com/zsh-users/zsh-autosuggestions ${ZSH_CUSTOM:-~/.oh-my-zsh/custom}/plugins/zsh-autosuggestions
git clone https://github.com/zsh-users/zsh-history-substring-search ${ZSH_CUSTOM:-~/.oh-my-zsh/custom}/plugins/zsh-history-substring-search

After saving the .zshrc file, you gotta source ~/.zshrc to get it work.

Install nodejs

And yarn too, with the help of nvm (installed using brew)

1
2
3
4
nvm install --lts
nvm install 15
nvm alias default 15
npm install -g yarn

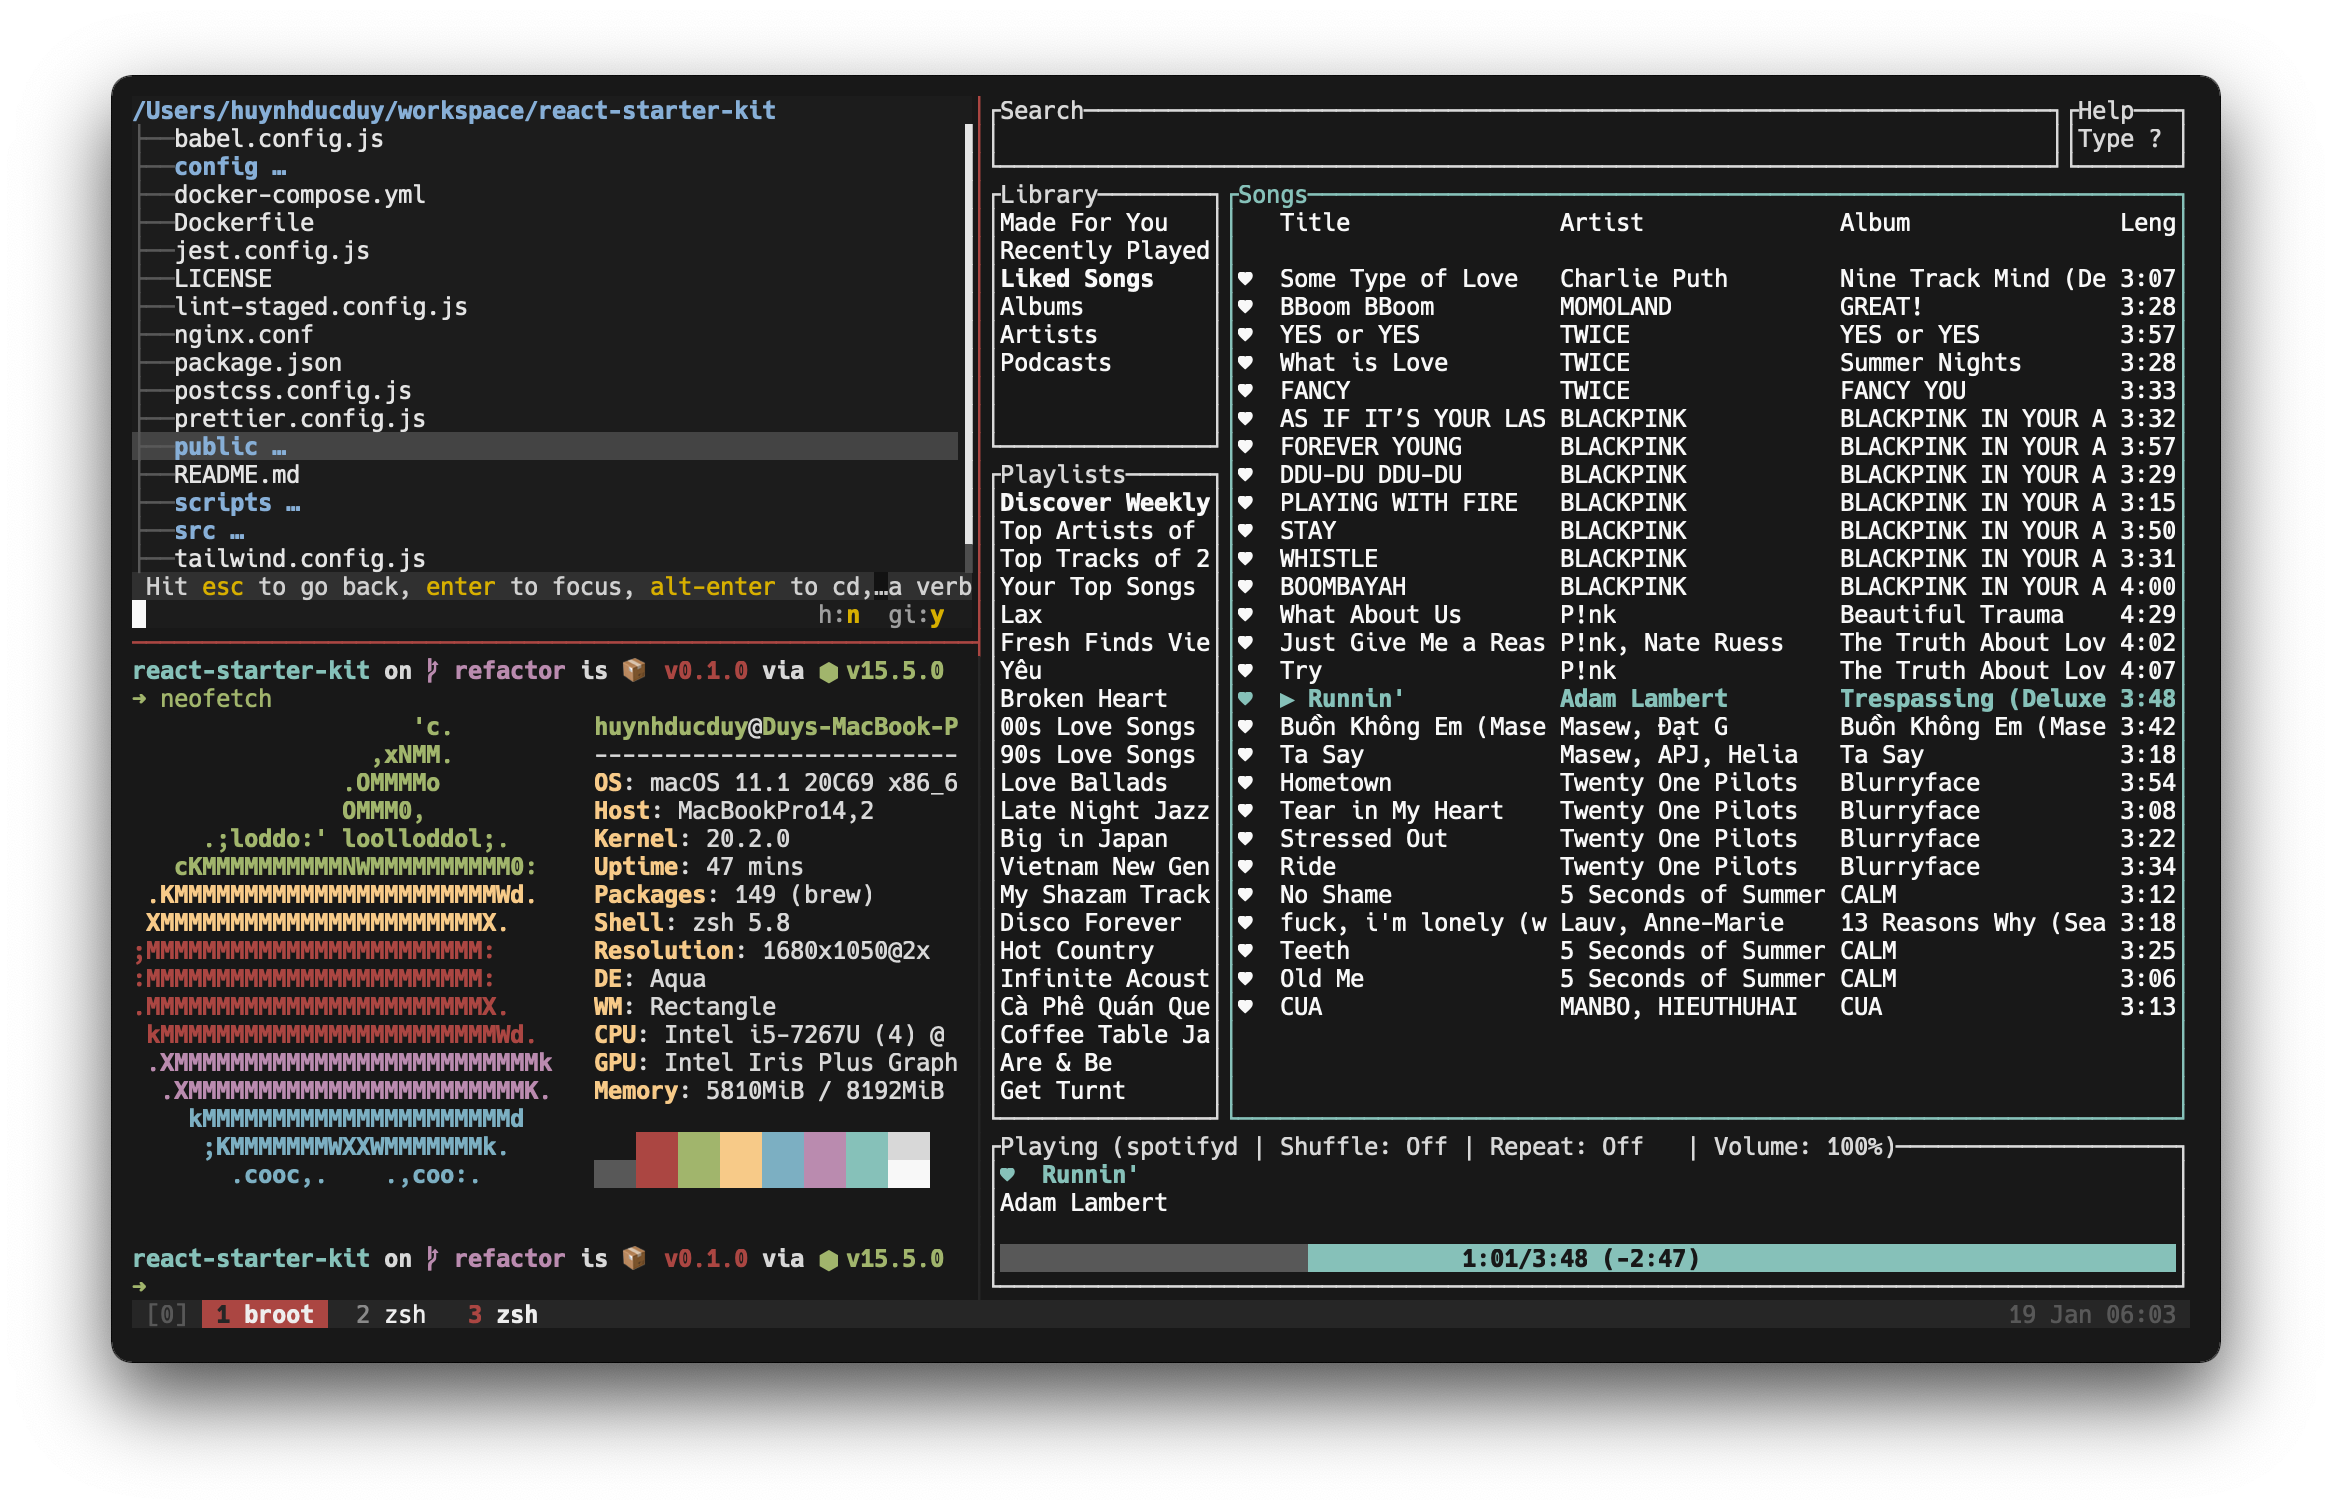
Alacritty & Tmux config

A short while ago, i switched from iTerm to Alacritty. Why? Because:

  • Alacritty is fast (written in Rust), GPU-Accelerated
  • Alacritty is simple, it has only 1 configuration file

But alacritty don’t come with tab manager,… like iTerm, which lead me to the use of Tmux - a terminal multiplexer.

This is my alacritty config

  1
  2
  3
  4
  5
  6
  7
  8
  9
 10
 11
 12
 13
 14
 15
 16
 17
 18
 19
 20
 21
 22
 23
 24
 25
 26
 27
 28
 29
 30
 31
 32
 33
 34
 35
 36
 37
 38
 39
 40
 41
 42
 43
 44
 45
 46
 47
 48
 49
 50
 51
 52
 53
 54
 55
 56
 57
 58
 59
 60
 61
 62
 63
 64
 65
 66
 67
 68
 69
 70
 71
 72
 73
 74
 75
 76
 77
 78
 79
 80
 81
 82
 83
 84
 85
 86
 87
 88
 89
 90
 91
 92
 93
 94
 95
 96
 97
 98
 99
100
101
102
103
104
105
106
107
108
109
110
111
112
113
114
115
116
117
118
119
120
121
122
font:
  size: 12
  normal:
    family: "Hack Nerd Font Mono"
  use_thin_strokes: true
# Colors (Base16 Default Dark)
colors:
  # Default colors
  primary:
    background: "#181818"
    foreground: "#d8d8d8"

  # Colors the cursor will use if `custom_cursor_colors` is true
  cursor:
    text: "#d8d8d8"
    cursor: "#d8d8d8"

  # Normal colors
  normal:
    black: "#181818"
    red: "#ab4642"
    green: "#a1b56c"
    yellow: "#f7ca88"
    blue: "#7cafc2"
    magenta: "#ba8baf"
    cyan: "#86c1b9"
    white: "#d8d8d8"

  # Bright colors
  bright:
    black: "#585858"
    red: "#ab4642"
    green: "#a1b56c"
    yellow: "#f7ca88"
    blue: "#7cafc2"
    magenta: "#ba8baf"
    cyan: "#86c1b9"
    white: "#f8f8f8"
key_bindings:
  - { key: Home, chars: "\x1bOH", mode: AppCursor }
  - { key: Home, chars: "\x1b[H", mode: ~AppCursor }
  - { key: End, chars: "\x1bOF", mode: AppCursor }
  - { key: End, chars: "\x1b[F", mode: ~AppCursor }
  - { key: Equals, mods: Command, action: IncreaseFontSize }
  - { key: Minus, mods: Command, action: DecreaseFontSize }
  - { key: Minus, mods: Command|Shift, action: ResetFontSize }
  - { key: PageUp, mods: Shift, chars: "\x1b[5;2~" }
  - { key: PageUp, mods: Control, chars: "\x1b[5;5~" }
  - { key: PageUp, chars: "\x1b[5~" }
  - { key: PageDown, mods: Shift, chars: "\x1b[6;2~" }
  - { key: PageDown, mods: Control, chars: "\x1b[6;5~" }
  - { key: PageDown, chars: "\x1b[6~" }
  - { key: Left, mods: Shift, chars: "\x1b[1;2D" }
  - { key: Left, mods: Control, chars: "\x1b[1;5D" }
  - { key: Left, mods: Alt, chars: "\x1b[1;3D" }
  - { key: Left, chars: "\x1b[D", mode: ~AppCursor }
  - { key: Left, chars: "\x1bOD", mode: AppCursor }
  - { key: Right, mods: Shift, chars: "\x1b[1;2C" }
  - { key: Right, mods: Control, chars: "\x1b[1;5C" }
  - { key: Right, mods: Alt, chars: "\x1b[1;3C" }
  - { key: Right, chars: "\x1b[C", mode: ~AppCursor }
  - { key: Right, chars: "\x1bOC", mode: AppCursor }
  - { key: Up, mods: Shift, chars: "\x1b[1;2A" }
  - { key: Up, mods: Control, chars: "\x1b[1;5A" }
  - { key: Up, mods: Alt, chars: "\x1b[1;3A" }
  - { key: Up, chars: "\x1b[A", mode: ~AppCursor }
  - { key: Up, chars: "\x1bOA", mode: AppCursor }
  - { key: Down, mods: Shift, chars: "\x1b[1;2B" }
  - { key: Down, mods: Control, chars: "\x1b[1;5B" }
  - { key: Down, mods: Alt, chars: "\x1b[1;3B" }
  - { key: Down, chars: "\x1b[B", mode: ~AppCursor }
  - { key: Down, chars: "\x1bOB", mode: AppCursor }
  - { key: Tab, mods: Shift, chars: "\x1b[Z" }
  - { key: F1, chars: "\x1bOP" }
  - { key: F2, chars: "\x1bOQ" }
  - { key: F3, chars: "\x1bOR" }
  - { key: F4, chars: "\x1bOS" }
  - { key: F5, chars: "\x1b[15~" }
  - { key: F6, chars: "\x1b[17~" }
  - { key: F7, chars: "\x1b[18~" }
  - { key: F8, chars: "\x1b[19~" }
  - { key: F9, chars: "\x1b[20~" }
  - { key: F10, chars: "\x1b[21~" }
  - { key: F11, chars: "\x1b[23~" }
  - { key: F12, chars: "\x1b[24~" }
  - { key: Back, chars: "\x7f" }
  - { key: Back, mods: Alt, chars: "\x1b\x7f" }
  - { key: Insert, chars: "\x1b[2~" }
  - { key: Delete, chars: "\x1b[3~" }

    # shortcuts for tmux. the leader key is control-b (0x02)
  - { key: W, mods: Command, chars: "\x02&" } # close tab (kill)
  - { key: T, mods: Command, chars: "\x02c" } # new tab
  - { key: RBracket, mods: Command|Shift, chars: "\x02n" } # select next tab
  - { key: LBracket, mods: Command|Shift, chars: "\x02p" } # select previous tab
  - { key: RBracket, mods: Command, chars: "\x02o" } # select next pane
  - { key: LBracket, mods: Command, chars: "\x02;" } # select last (previously used) pane
  - { key: F, mods: Command, chars: "\x02/" } # search (upwards) (see tmux.conf)
mouse_bindings:
  - { mouse: Middle, action: PasteSelection }
cursor:
  style: Beam
  blinking: On
  blink_interval: 500
  unfocused_hollow: false
live_config_reload: true
# shell:
# program: /usr/local/bin/tmux
# args:
#   - -u # force UTF-8 in tmux
window:
  padding:
    x: 10
    y: 10
  decorations: buttonless
scrolling:
  history: 10000
  multiplier: 3
bell:
  animation: EaseOut
  color: "0xffffff"
  duration: 200

And my tmux config

 1
 2
 3
 4
 5
 6
 7
 8
 9
10
11
12
13
14
15
16
17
18
19
20
21
22
23
24
25
26
27
28
29
30
31
32
33
34
35
36
37
38
39
40
41
42
43
44
45
46
47
48
49
50
51
52
53
54
# reload config file (change file location to your the tmux.conf you want to use)
bind r source-file ~/.tmux.conf

# enable history
set -g history-limit 10000

# enable mouse
set -g mouse on

# enable UTF-8 support in status bar
set -gq status-utf8 on

# start window index at 1 instead of 0
set -g base-index 1

# start pane index at 1 instead of 0
setw -g pane-base-index 1

# highlight window when it has new activity, bell, activity,...
setw -g monitor-activity on
set -g visual-activity off
set -g visual-bell off
set -g visual-silence off
set -g monitor-bell on
set -g bell-action any
set -g activity-action none

# re-number windows when one is closed
set -g renumber-windows on

#  modes
setw -g mode-style 'fg=colour255 bg=colour235 bold'

# panes
set -g pane-border-style 'fg=colour235 bg=colour0'
set -g pane-active-border-style 'bg=colour0 fg=colour1'

# statusbar
set -g status-position bottom
set -g status-justify left
set -g status-style 'bg=colour235'
set -g status-right '#[fg=colour240] %d %b %R '
set -g status-left ' #[fg=colour240][#S] '

setw -g window-status-current-style 'fg=colour235 bg=colour1 bold'
setw -g window-status-current-format ' #I#[fg=colour255] #[fg=colour255]#W '

setw -g window-status-style 'fg=colour245 bg=colour235'
setw -g window-status-format ' #I#[fg=colour255] #[fg=colour255]#W '
setw -g window-status-activity-style 'fg=colour1 bg=colour235 blink bold'
setw -g window-status-bell-style 'fg=colour1 bg=colour235 bold'

# messages
set -g message-style 'fg=colour255 bg=colour1'

If you want further explaination, i will write another blog :D

Result

If you follow my steps, you will end up with:

Result

comments powered by Disqus